

I stamped "Script Background" from TAC (love that stamp!) with Cognac Palette ink for the background. Then, I took my sponge and distressed the edges with Jardin Moss Palette ink. The only other thing I did before I adhered the tag was to take some DCWV White core paper and punched a border and then used a sponge to distress it, bringing out the white core.
I know it's hard to tell in the photo, but before I glued the kraft piece of the tag to the green scalloped mat, I crumpled it up to give it even more of an aged look (I did this before when I made the tag).
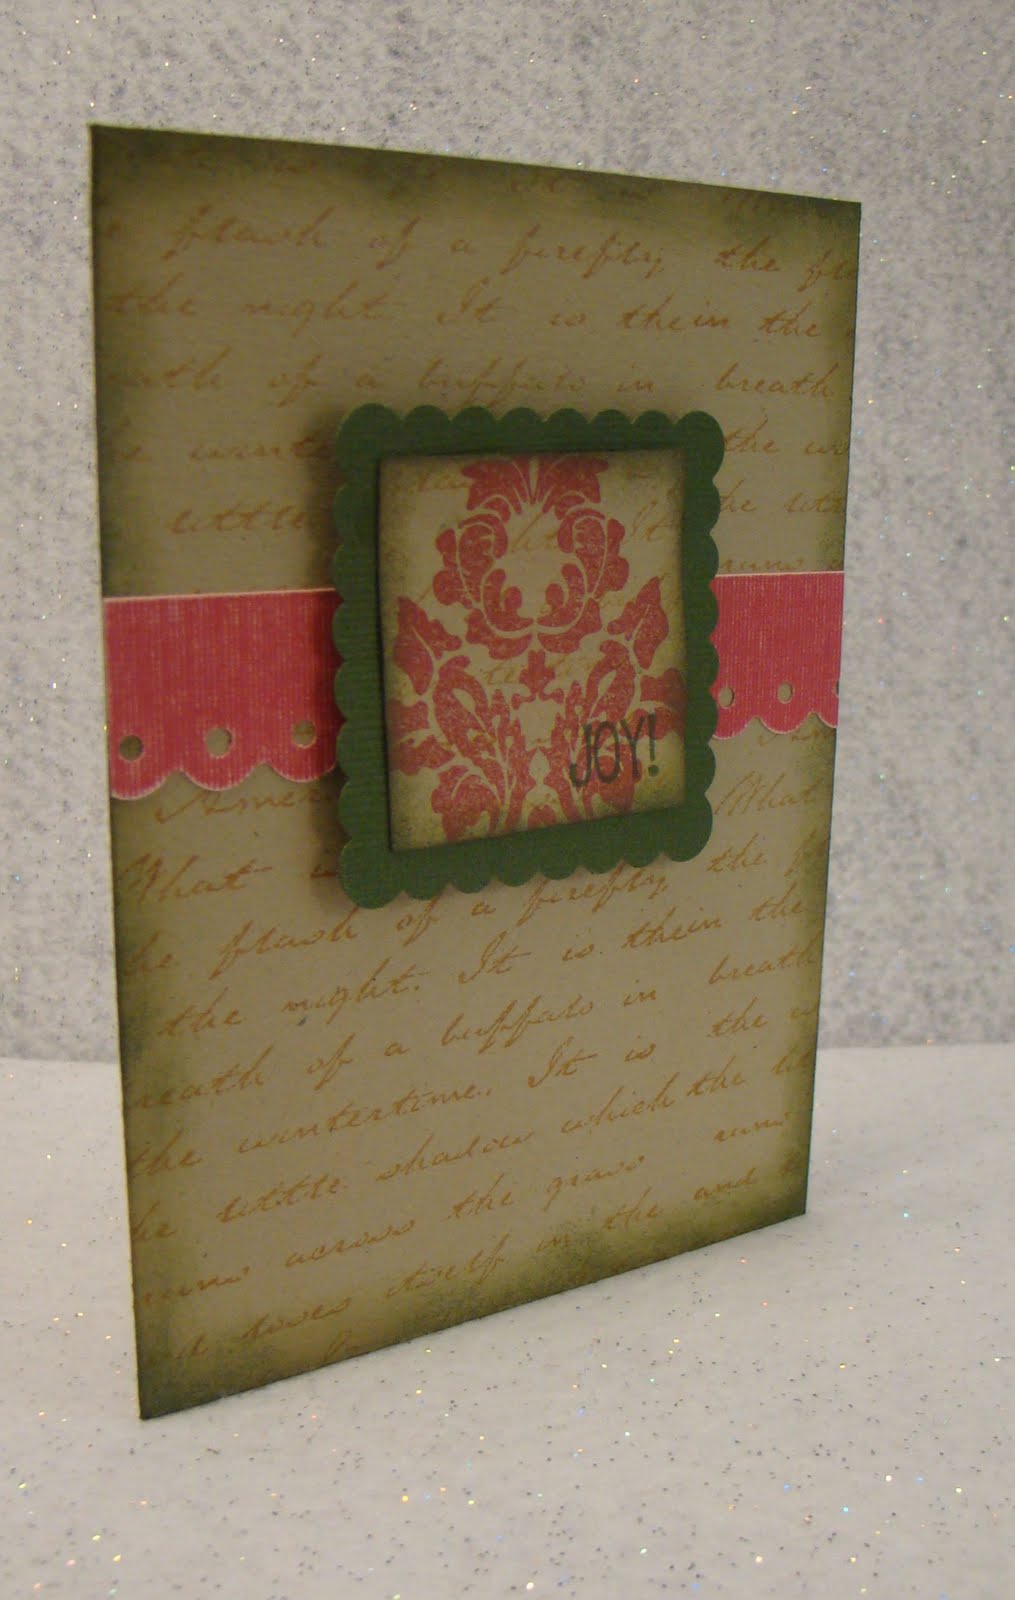
Hope you enjoyed it!
Supplies
Stamps: TAC Script Background, Victorian Elements, Holiday Cheer
Paper: TAC Kraft, DCWV Reddish Pink, Green Bazzill
Ink: Cognac, Jardin Moss & Lamore Red Palette
Other: Fiskars Border Punch, Pop Dots


